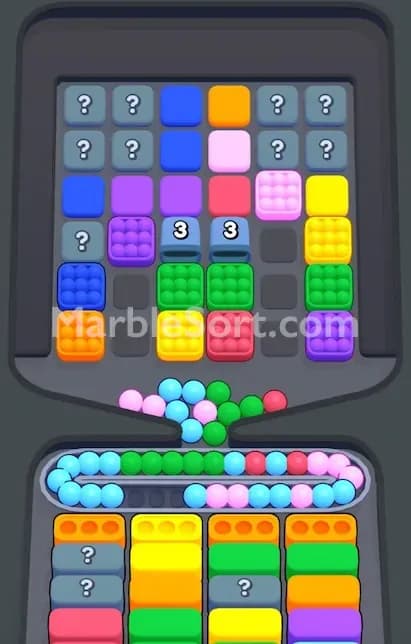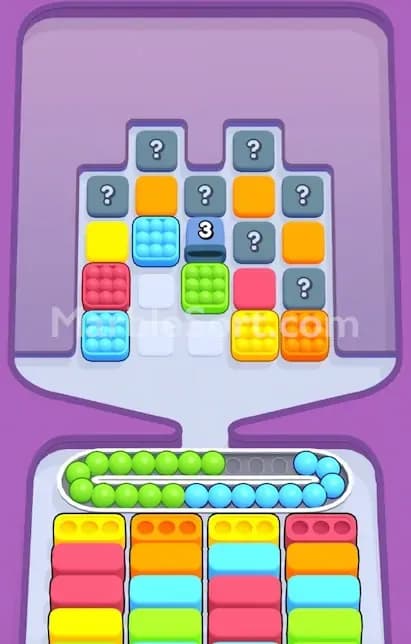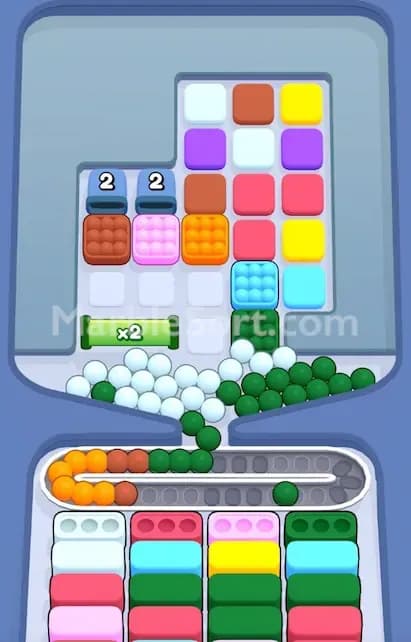

A Connected Pallet looks harmless until the lower boxes stop moving and your conveyor turns into a traffic jam.
This feature appears on the bottom part of a Marble Sort level. You will see a black connector line linking two colored boxes together. These two boxes sit in neighboring columns, but they do not have to sit on the same row. One side might be near the top of its column, while the other side sits lower with boxes stacked above or below it.
That is the trick.
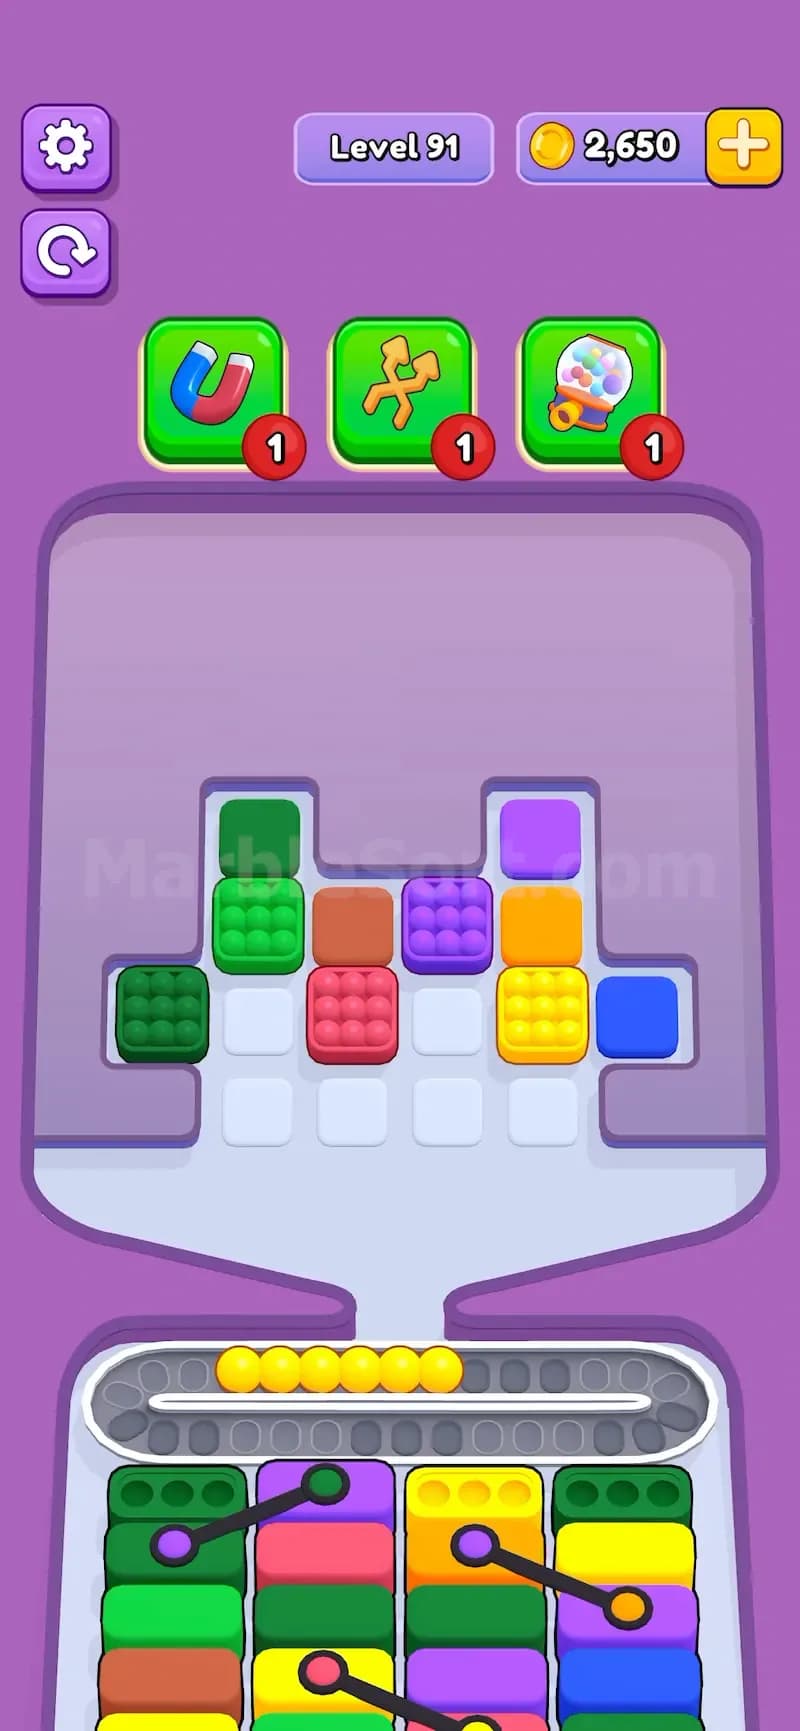
Connected Pallet is not the same as Connected Box. A Connected Box happens at the top of the board and makes two marble boxes drop together when you tap one of them. Connected Pallet happens at the bottom, inside the colored box stacks. It does not force extra marbles to drop. Instead, it blocks progress until the connected pair is cleared.
Clear the linked pair. Open the stack. Keep the conveyor alive.
Connected Pallet connects two bottom boxes with a line. These two boxes act like a shared blocker across two neighboring columns.
The boxes underneath them are not truly available until the connected boxes are cleared. You may be able to see the lower boxes, but they are trapped behind the linked pair. If you ignore the connection and only focus on easy matches, you can waste good marble drops while the useful colors stay buried.
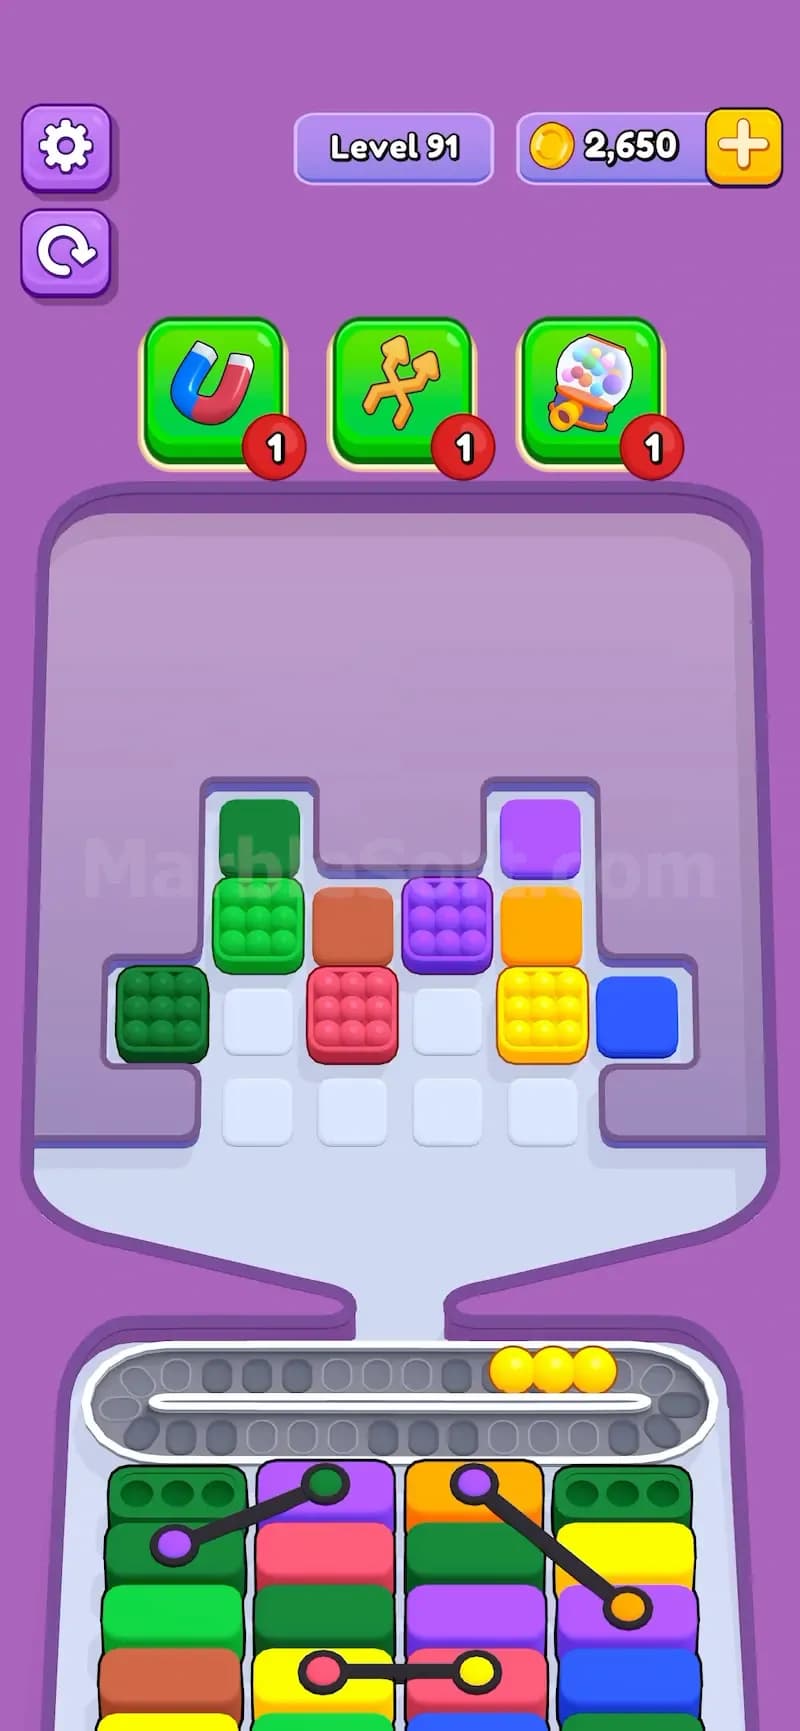
The basic rule is simple:
Simple rule. Mean board design.
The problem is that Connected Pallet makes you think in columns, not just colors. In normal levels, you can often play by filling whatever bottom box matches the marbles you already have. With Connected Pallet, that lazy style breaks fast. You need to ask which linked pair is blocking the most important lower boxes.
A blocker feature slows your normal clearing path. Connected Pallet does that by tying two bottom columns together.
If one connected box is easy to fill but the other side needs a color you cannot reach yet, the whole pair becomes a problem. You might clear one side, but the lower stack still will not fully open the way you want. That means fewer active boxes, fewer safe landing spots, and more marbles stuck on the conveyor.
That is how the level gets you.
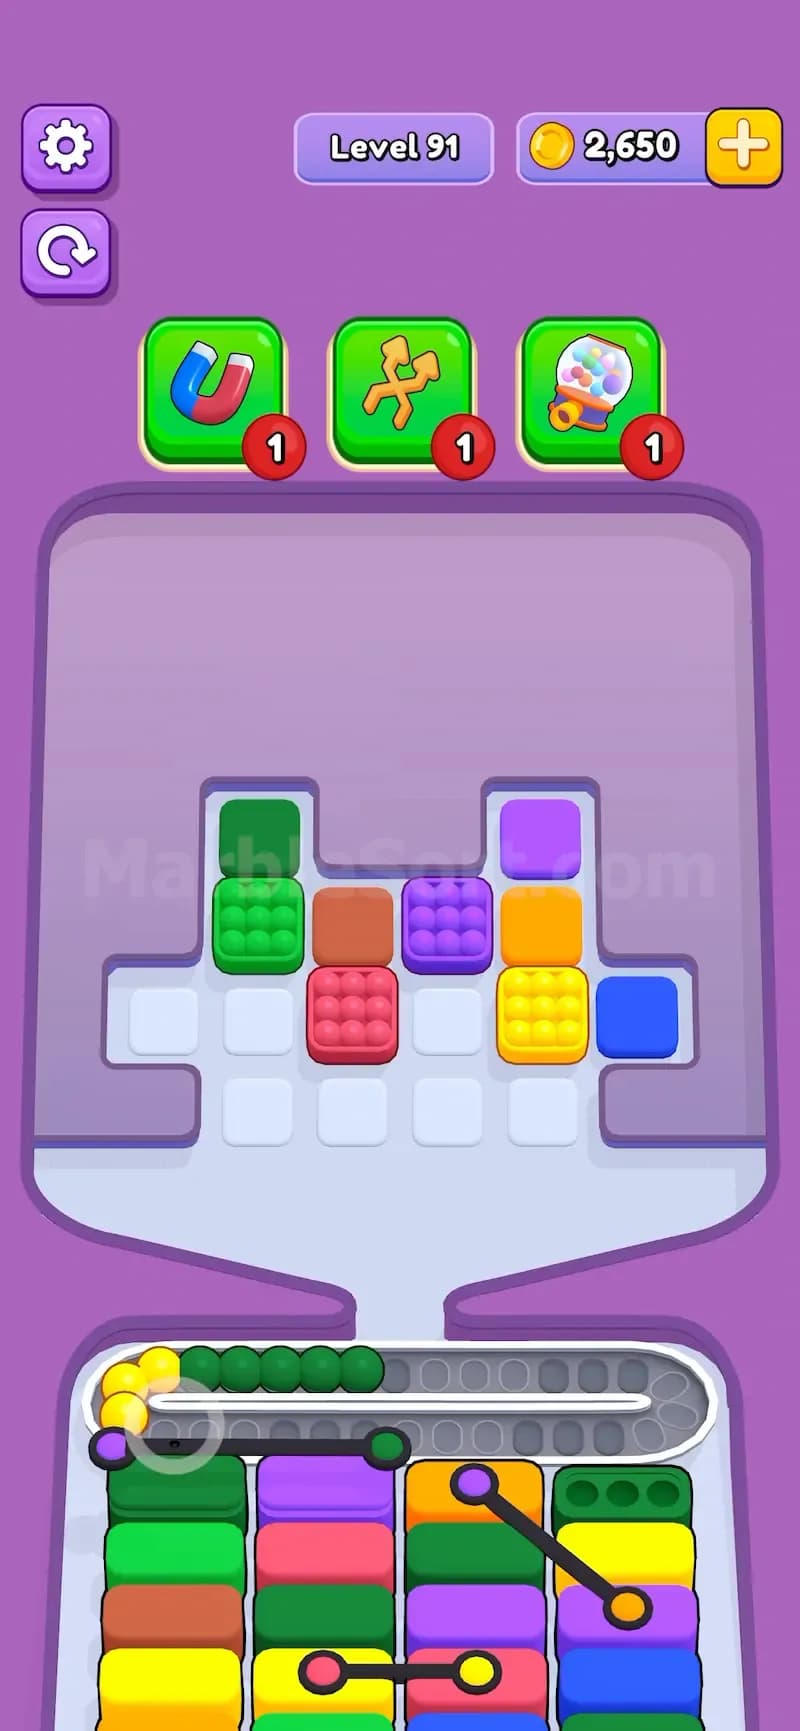
The conveyor is not just decoration. It has limited room. Every marble sitting there is taking space. When you drop marbles without matching bottom boxes ready, the belt fills up and the level can fail. Connected Pallet increases that pressure because it hides useful boxes behind a linked barrier.
One bad drop can be fixed. Five bad drops become a mess.
Before tapping anything at the top, scan the bottom board.
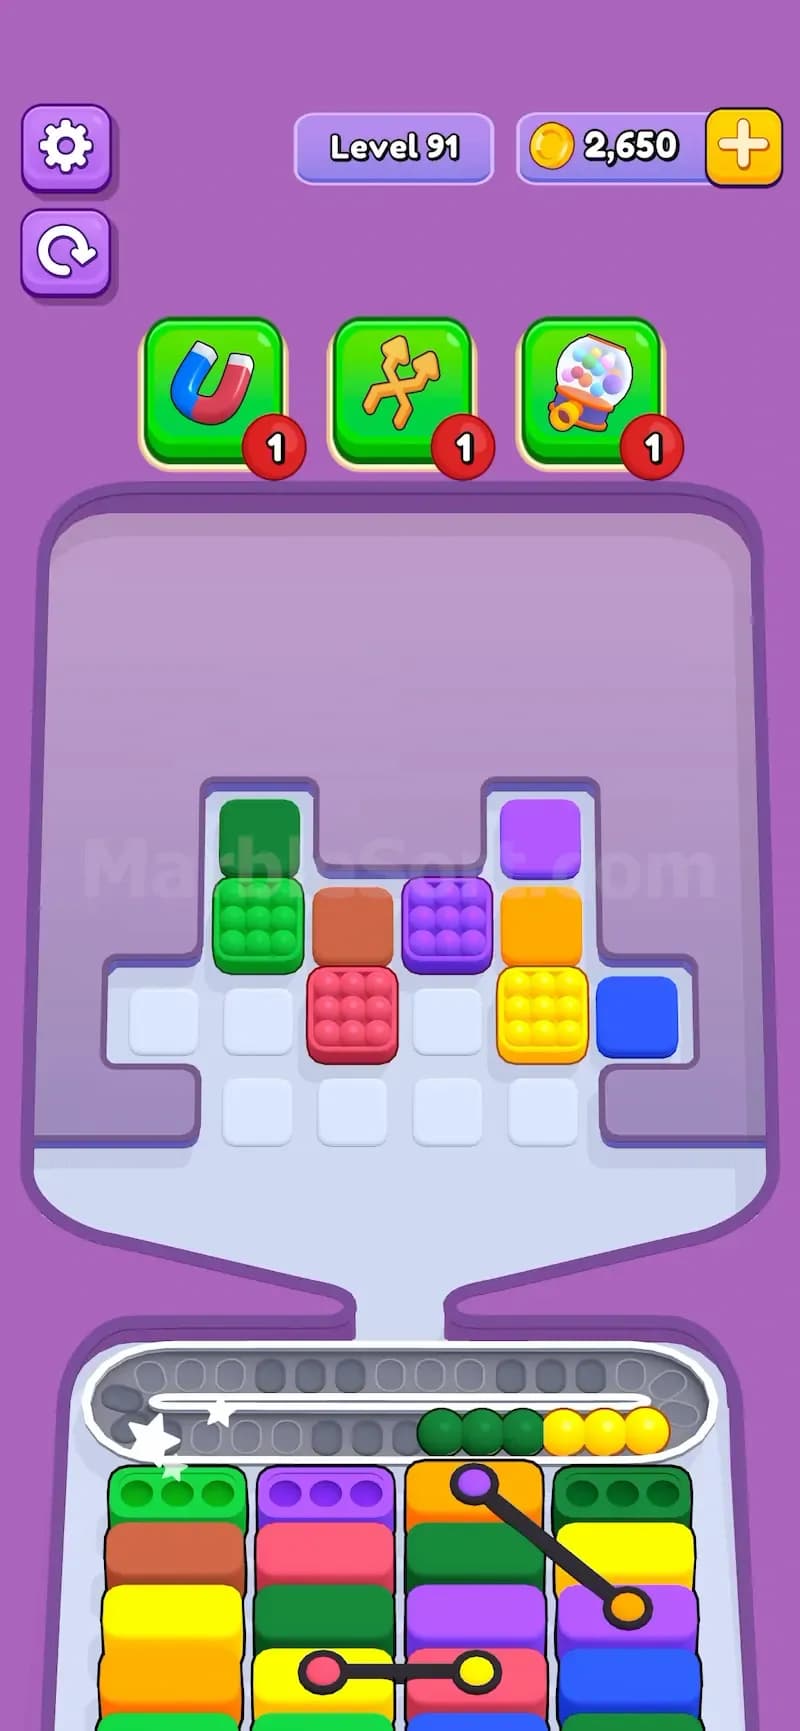
Do this first:
Do not start by looking only at the top marbles. That is the beginner mistake. The top tells you what you can drop. The bottom tells you what you should drop.
If a Connected Pallet is blocking two deep columns, it usually deserves priority. If another connected pair is sitting low with only one weak box below it, let it wait. The best first target is the pair that opens more future moves.
The safest way to beat Connected Pallet levels is to clear linked pairs in the correct order.
Use this plan:
Start with the highest connected pair A linked pair near the top of the bottom stacks usually blocks more boxes. Clear it early unless the required colors are completely unavailable.
Do not overfeed one side If one connected box needs green and the other needs purple, do not dump too much green just because it is ready. You still need the other side cleared.
Protect conveyor space Drop only the marbles that have a clear home. If the matching connected box is full or blocked, wait.
Use exposed boxes as breathing room Once a linked pair clears, the boxes below it become your new safety net. Use them quickly.
Avoid random color chasing Filling a normal box can feel useful, but if it does not help clear the connected pair or open a trapped column, it may be a waste.
The main goal is not to clear every box evenly. The goal is to break the blocker that gives you the most room.
In Marble Sort, the upper boxes release marbles onto the conveyor, and those marbles need matching bottom boxes. Connected Pallet does not change the falling path, but it changes which bottom boxes matter.
For example, say you have a yellow connected box on the left and a purple connected box on the right. If both are blocking lower boxes, then yellow and purple become priority colors. Even if you also see green or red matches available, those colors may be less useful if they do not open the stuck columns.
This is why Connected Pallet levels can feel unfair at first. The best move is not always the obvious match.
Look deeper.
Very hard levels may place multiple Connected Pallets across the bottom stacks. When that happens, the board becomes a chain problem.
One pair blocks another pair. One lower box reveals a color you need for a different linked pair. One column looks useless until you clear the box above it.
Use this order:
Do not try to clear all connected pairs at the same time. That spreads your marbles too thin. Pick one target, feed it, finish it, then move to the next.
The best booster for Connected Pallet levels is usually the Magnet Booster.
Why? Because Magnet Booster lets you drop any one top box. If the exact color you need is buried above, the magnet can grab it and finish one side of the connected pair before the conveyor gets packed.
The Cannon Booster is better when the conveyor is already full of junk and you need an emergency reset. Use it when you made a bad chain of drops and cannot sort the belt fast enough.
The Shuffle Booster can help if the bottom queue is awkward, but it is less direct. Use it when the visible bottom boxes do not match the colors you can safely drop.
Best value order:
When two Connected Pallets are close together, do not always clear the upper-looking one first. Sometimes the lower linked pair is holding the color that finishes the upper pair. Trace the blocked columns before moving. If clearing a lower pair exposes the missing color for a higher pair, do that first.
It feels backwards. It works.