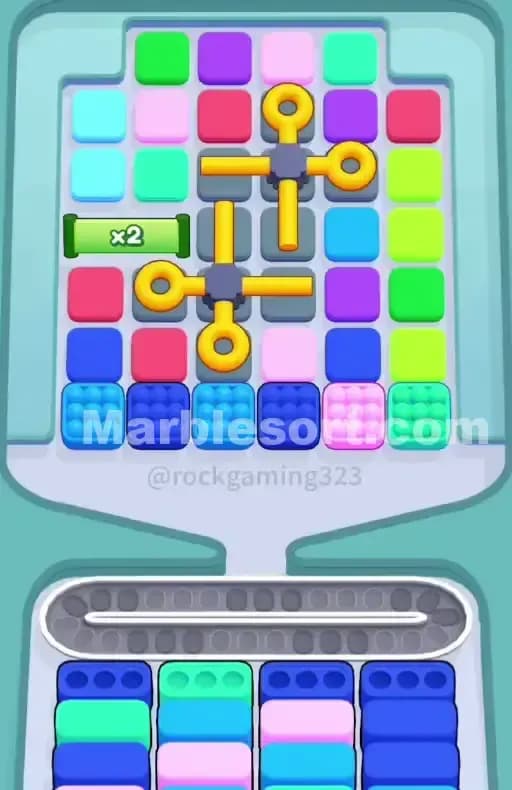
Marble Sort Level 195 Walkthrough Solution | Marble Sort 195
How to solve Marble Sort level 195? Get instant solution for Marble Sort 195 with our step by step solution & video walkthrough.
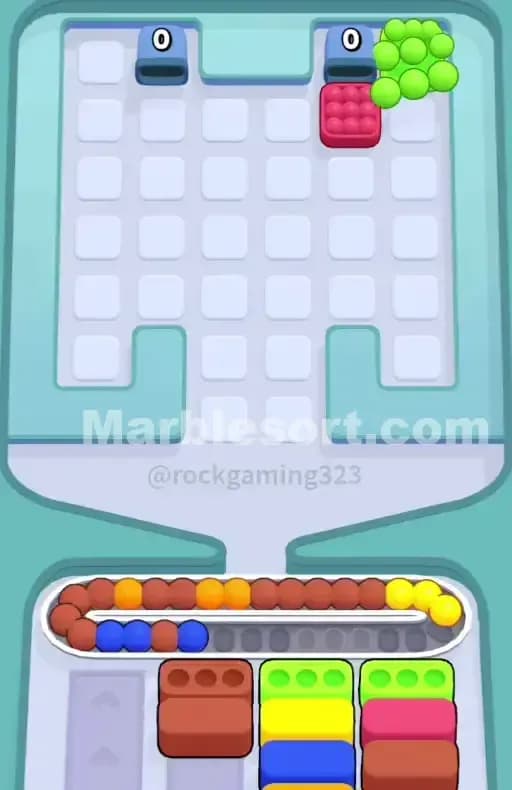
Marble Sort Level 195 Guide: The Twin Crate Blockade
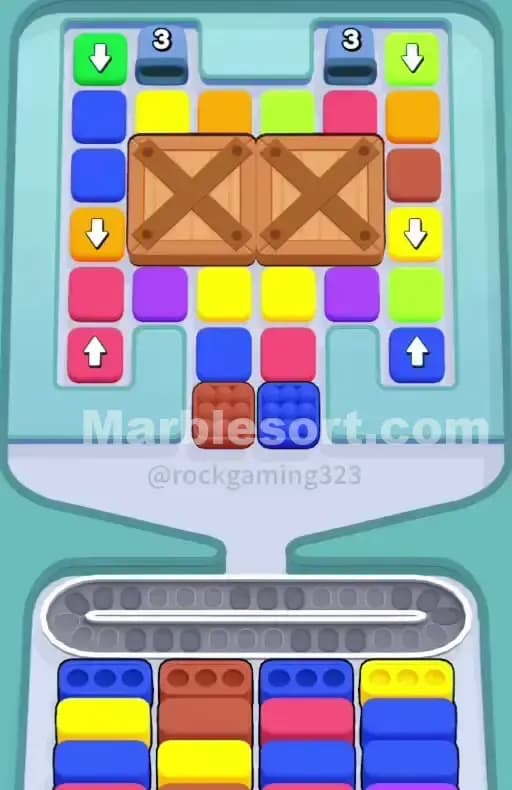
You load into this stage and immediately see the problem. Two massive wooden Crates dominate the dead center of the Top Tray. They block the middle of the board completely. You cannot see what is behind them. You cannot reach the upper sections.
The dominant colors you need to worry about right away are Blue, Brown, and Yellow. Your bottom Boxes dictate the entire opening rhythm. The active front row of your bottom receivers demands two Blues, one Brown, and one Yellow. If you pull anything else into your Conveyor Belt, you are asking for a jam. The whole trick to Marble Sort Level 195 is ignoring the complex outer columns until you snipe exactly what you need to break those center obstacles.
The Twin Crate Blockade in Marble Sort Level 195
Let us break down exactly what you are staring at. The board is split by those giant central Crates. They feature large X marks and are heavily locked down. They will only open up if the nearby three boxes are all dropped down.
Look at your lower receiving Boxes. There are four slots. From left to right, the active front boxes are Blue, Brown, Blue, and Yellow. You need to clear these before the board allows you to progress. The layers underneath these front boxes are heavily stacked. Slot one hides a Yellow and another Blue. Slot two hides a Yellow and a Pink. Slot three hides a Pink and a Blue. Slot four hides a Blue and an Orange. You have to memorize that second layer because it dictates your midgame.
Now look at the Top Tray. The outer edges are dangerous. The left side is a rigid vertical column featuring a Green Arrow Box pointing down, followed by two Blues, an Orange Arrow Box, a Pink, and a Pink Arrow Box pointing up. The right side is a similar trap. It holds a Green Arrow Box, Orange, Brown, Yellow Arrow Box, Green, and an upward Blue Arrow Box. These Arrow Boxes lock the columns. They refuse to activate until the box they point to is dropped.
The most important part of the board is the bottom center. Hanging right beneath the massive wooden Crates are two completely free, fully exposed boxes: one Brown and one Blue. These are your lifeline. Sitting far above everything are two Tunnels marked with a 3. Those hold the late-game drops. Forget they exist for now.
Marble Sort Level 195 Step-by-Step Walkthrough
You have to be incredibly precise with your first few taps. One wrong color sent to the Conveyor Belt will sit there and choke your space until you fail.
Opening the Center in Marble Sort Level 195
The start of this level is all about surgically removing the center blockade without touching the bait on the outer edges.
- Tap the free Brown box hanging at the bottom center of the Top Tray. Send it straight to the Conveyor Belt. It will route directly into slot two of your bottom Boxes.
- Tap the free Blue box sitting right next to it. This routes into slot one or three.
- You still need more Blues and a Yellow to clear the active front row. Turn your attention to the left vertical column. The Blue boxes trapped in the middle of this column are your next target.
- Carefully sequence the drops on the left side to bypass the Arrow Box locks. You must free those two Blue boxes and drop them to clear the remaining Blue demand in your lower slots.
- Check the right vertical column. You need Yellow. Navigate the right-side Arrow Box puzzle to peel away the blocking colors safely. Keep a close eye on your Conveyor Belt space. Only drop the Orange or Green if you have the empty capacity to hold them while you extract the Yellow.
- Send the Yellow down to clear slot four.
Shattering the Obstacles in Marble Sort Level 195
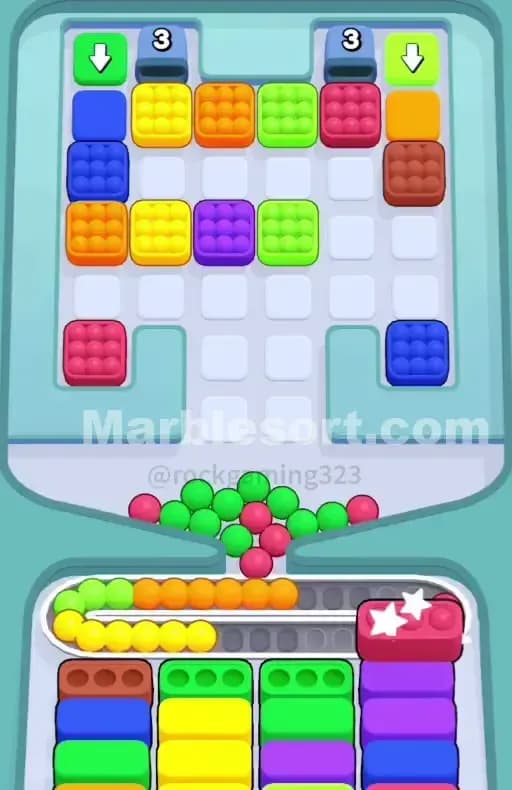
Clearing that first wave of bottom Boxes changes everything. You have now dropped the required adjacent boxes to trigger the center board mechanic.
- Watch the massive wooden Crates shatter. This is the turning point of the level.
- A huge cluster of new colors is now exposed in the dead center. You will see a dense mix of Purple, Yellow, Green, and Pink boxes that were completely hidden.
- Look at your newly revealed bottom Boxes. Because you cleared the first layer, the new active demand is Yellow, Yellow, Pink, and Blue.
- Do not pull from the outer columns yet. The bait is still live. Focus entirely on the freshly opened center cluster.
- Tap the newly revealed Yellows and Pinks in the center. They will drop down and immediately match the active second layer of your lower receivers.
- Clearing this center mass prevents the Conveyor Belt from overflowing. It also gives you the space to finally manage the messy remnants of the outer columns.
Emptying the Tunnels in Marble Sort Level 195
With the crates destroyed and the center cleared, you are in the final stretch.
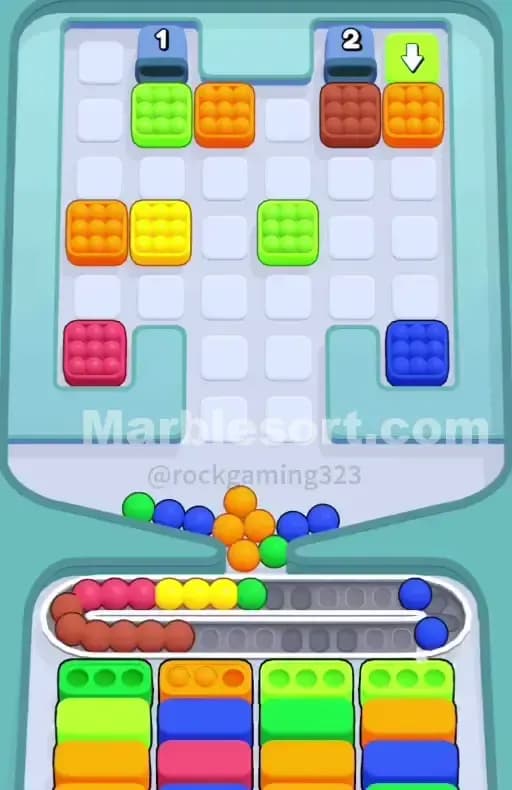
- Shift your focus to the very top of the board. The two Tunnels marked with a 3 are now fully accessible.
- Clear any remaining Green or Blue Arrow Boxes that are blocking the path directly beneath the Tunnels.
- The Tunnels will spit out hidden boxes in order. You cannot see what is coming next until the front box drops. Keep at least two spaces open on your Conveyor Belt at all times here.
- Route the final Orange and Pink drops into the third layer of your bottom Boxes.
- If a Tunnel reveals a color you do not currently need, leave it alone. Clear the alternative Tunnel or finish off the remaining fragments of the right column to cycle your bottom receivers forward. Match the final drops to complete the board.