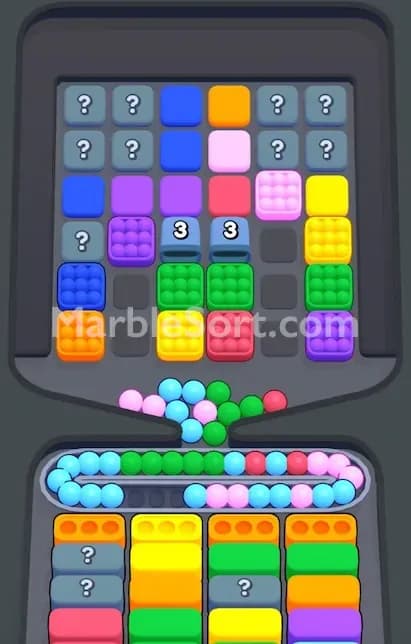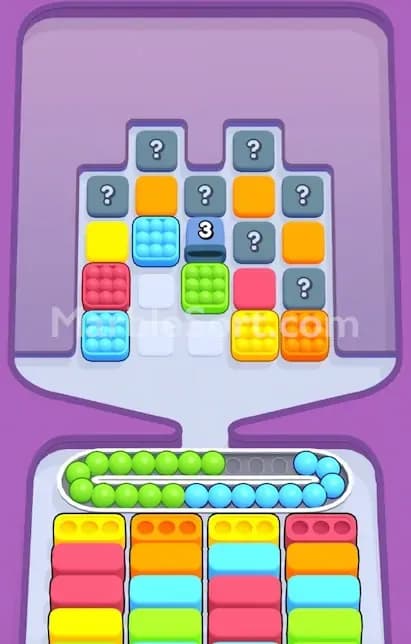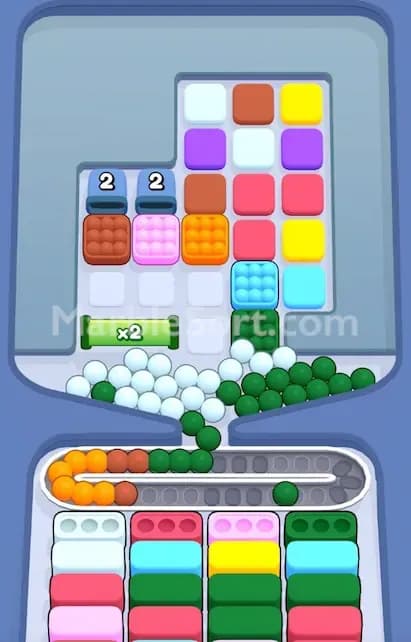
You need the bottom box. It is frozen. The matching marbles are already rolling around the conveyor, and now the whole level is one bad tap away from a jam.
That is what Ice Trays do in Marble Sort.
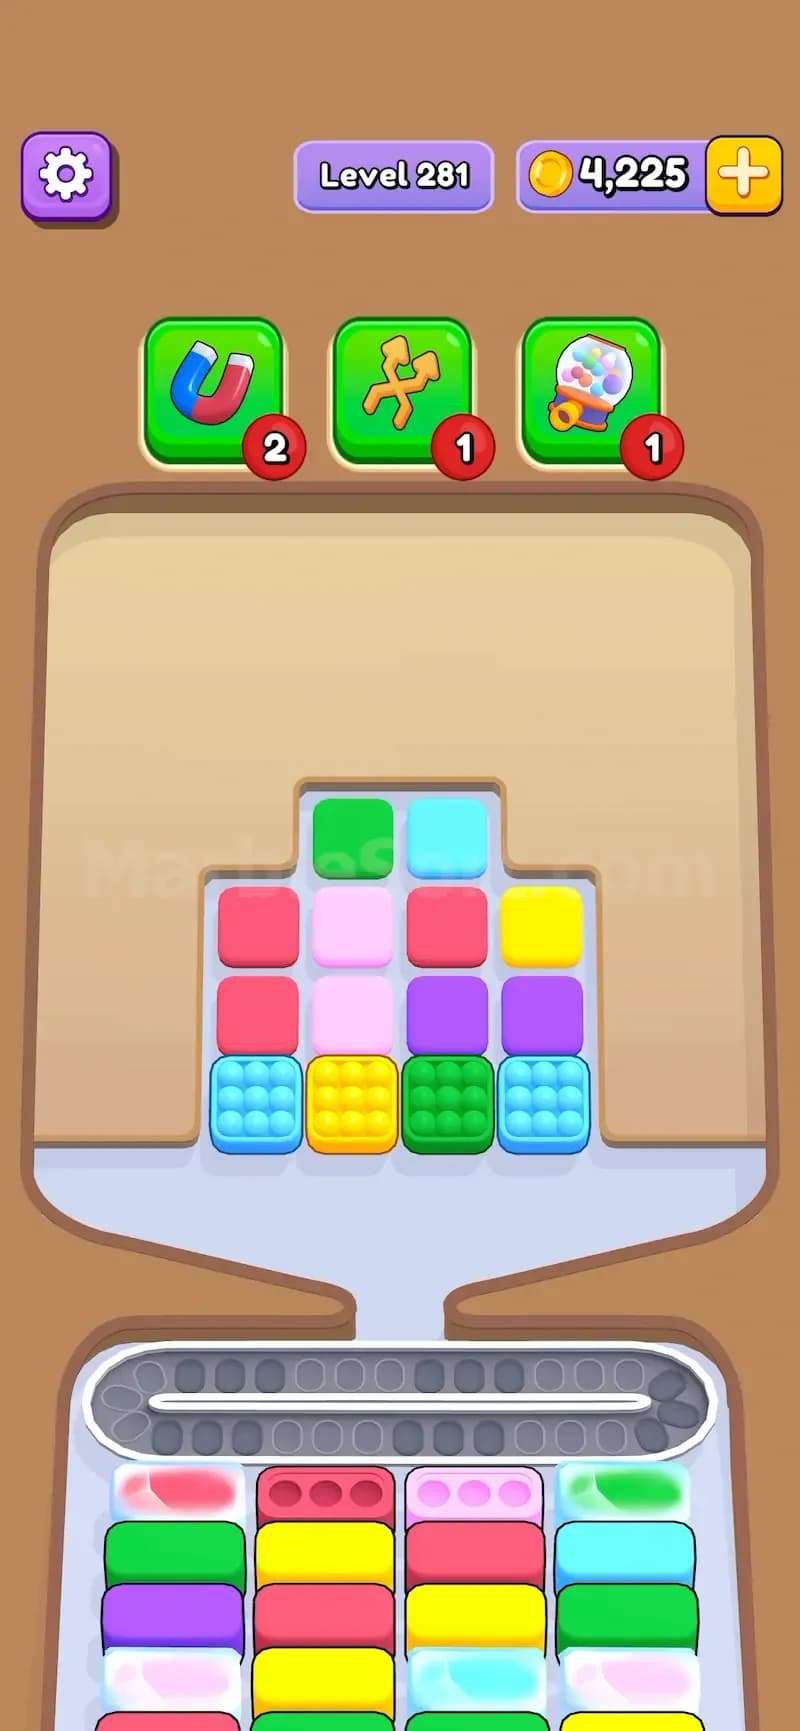
They do not stop you from dropping marble boxes at the top. They block the sorting boxes at the bottom, which is often worse. A frozen bottom box means the marbles of that color cannot be packed there yet, even if the color is clearly visible. You can see the answer. You just cannot use it.
Annoying. Very effective.
Ice Trays are frozen colored boxes at the bottom of the conveyor area. They work a lot like Ice Box, but they appear in a different part of the level.
The difference is simple:
That last part matters. In Marble Sort, clearing bottom boxes is how you keep the conveyor safe. When a bottom box is frozen, matching marbles may have nowhere to go. They stay on the conveyor longer, take up space, and can cause a fail if too many pile up.
So no, Ice Trays are not just a visual blocker. They change the order you need to play the level.
To break an Ice Tray, you need to clear colored boxes next to it two times.
Nearby means directly touching it:
Diagonal boxes do not count.
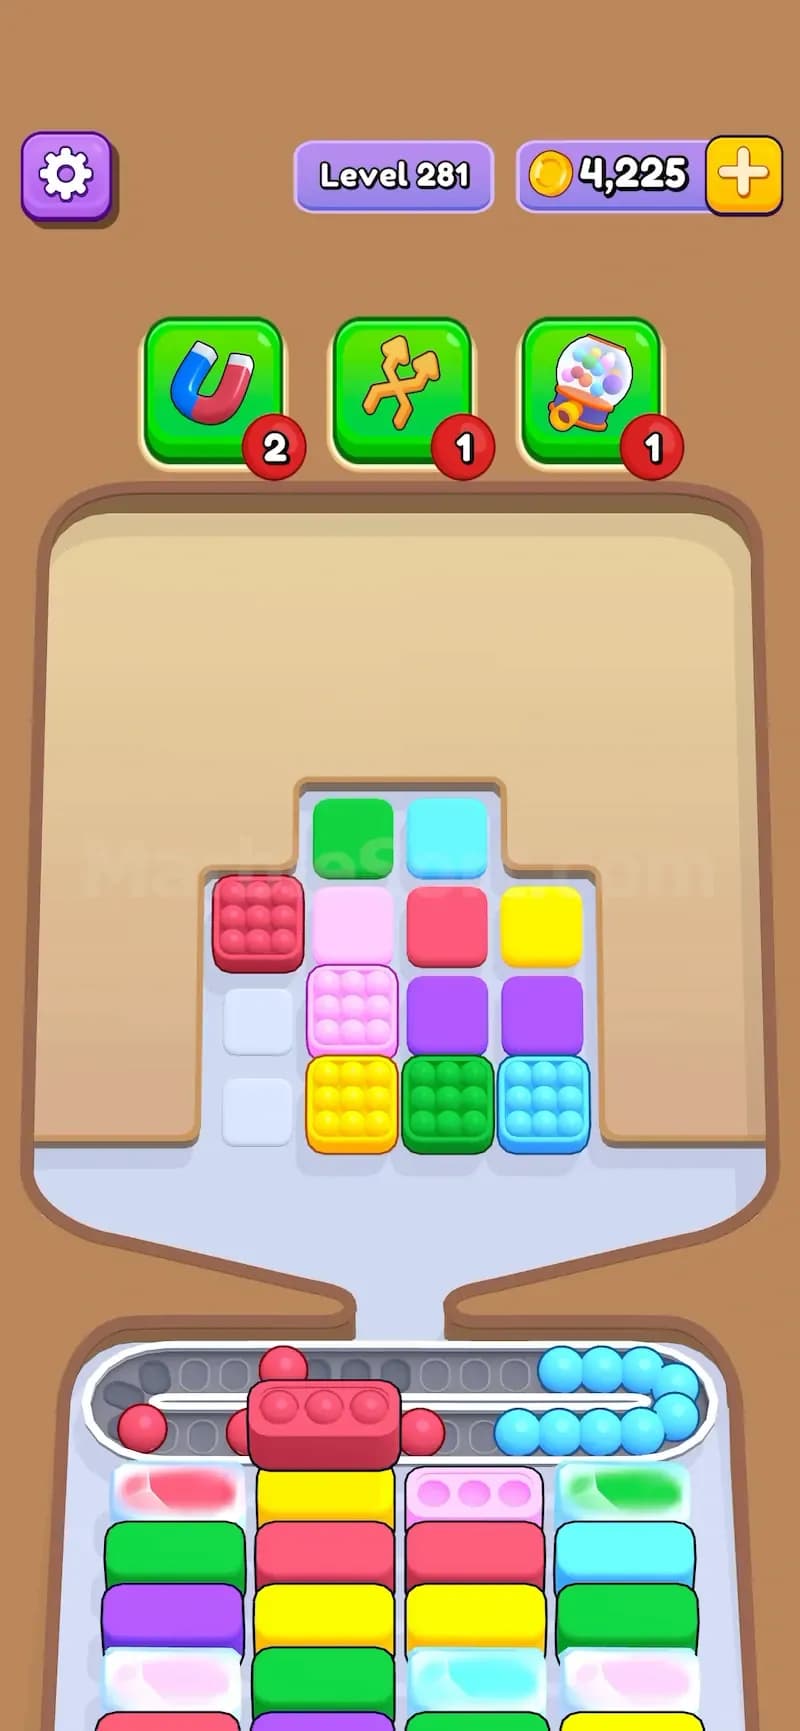
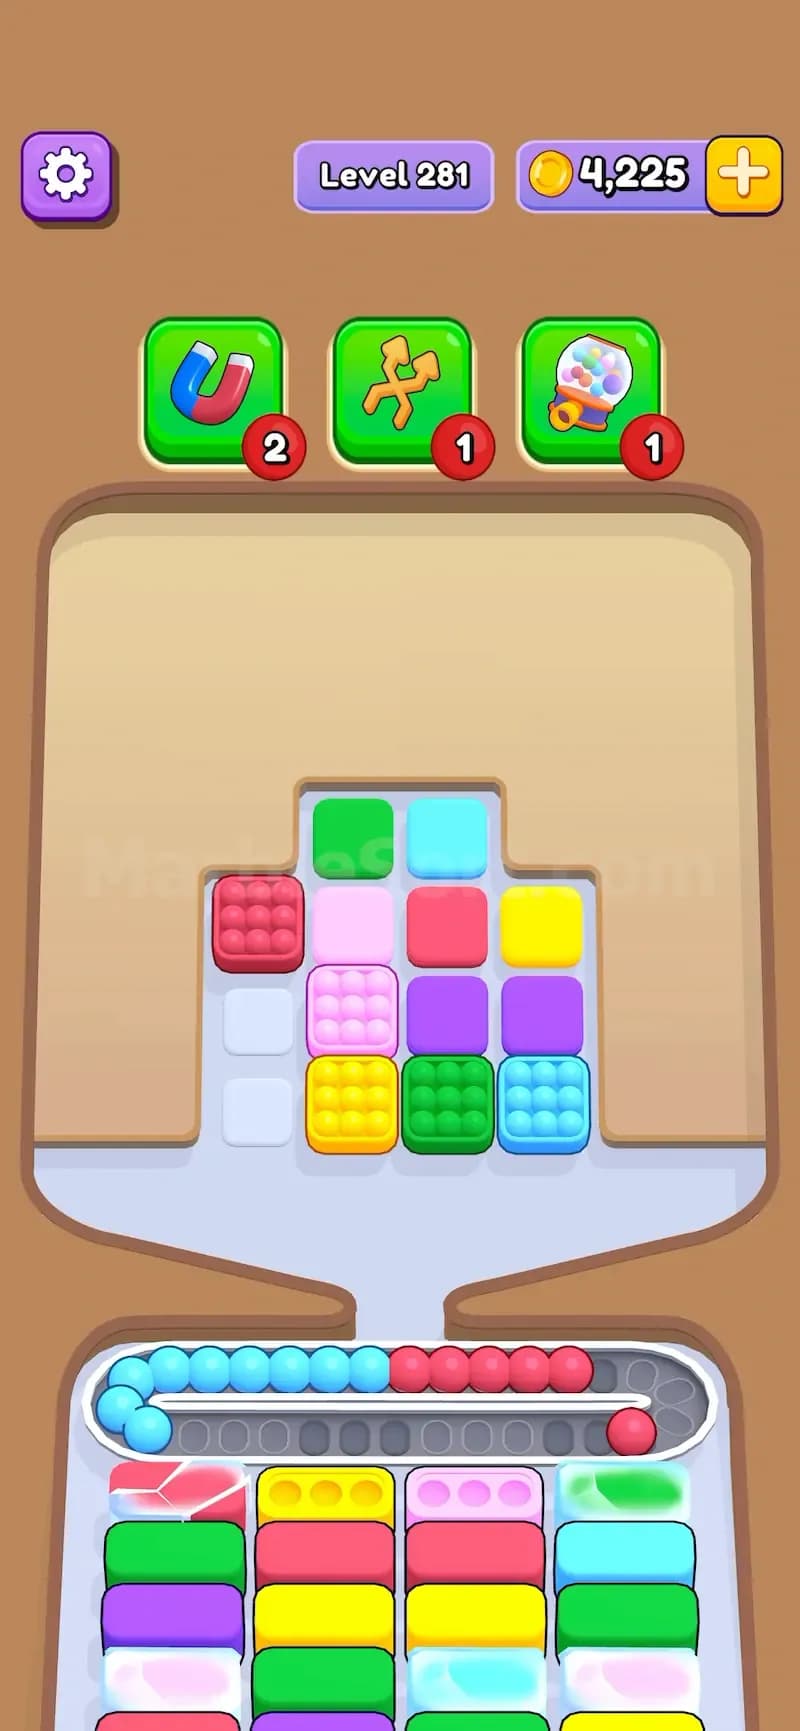
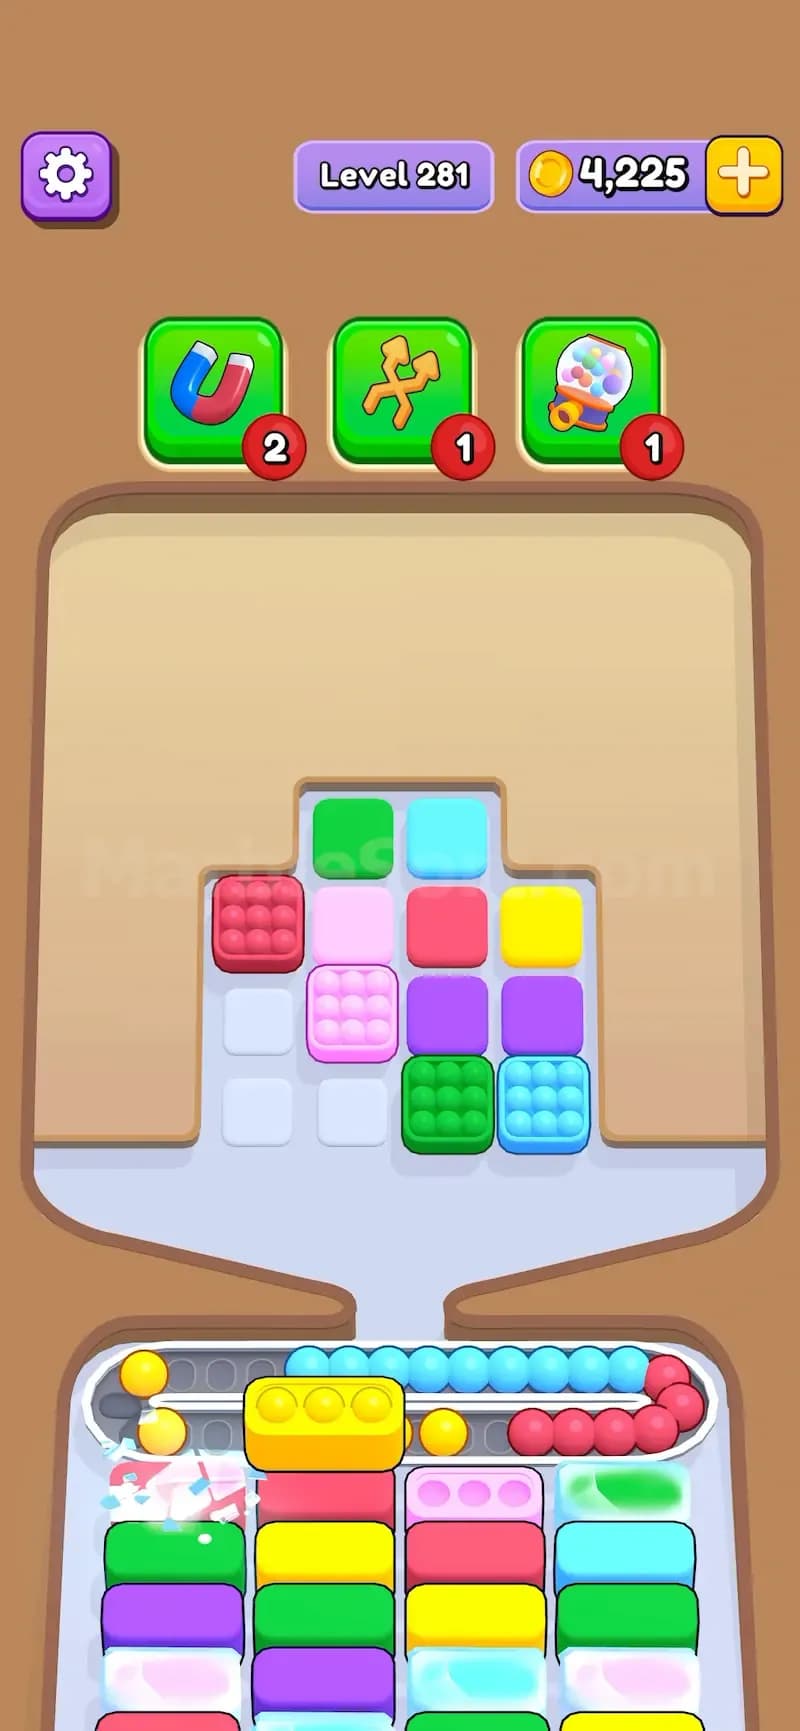
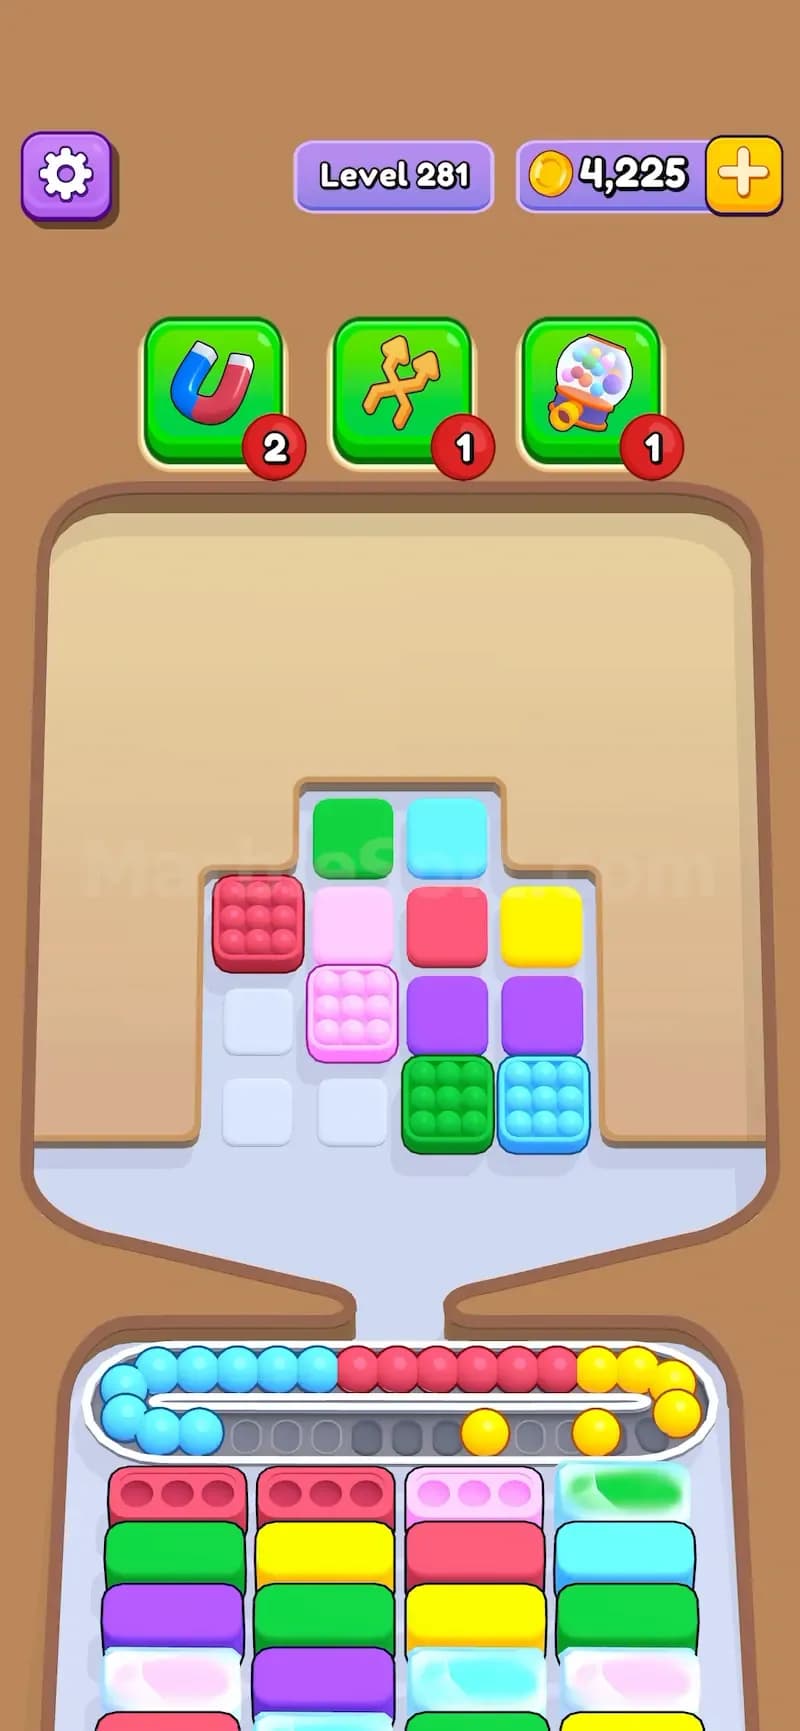
Here is the basic flow:
The rule sounds easy until the level gives you three frozen trays, two useless colors, and a conveyor already packed with marbles you cannot place yet.
Classic Marble Sort behavior.
Ice Trays are hard because they attack the bottom of your plan.
Most Marble Sort levels are about matching top marble boxes with bottom colored boxes. You look at what colors are available, drop the right marble box, and clear space before the conveyor gets too full.
Ice Trays interrupt that flow.
A frozen tray might be the only visible box for a color you need. If you drop that color too early, the marbles may circle around with no open slot. If you wait too long, you may not have enough room to drop the boxes needed to break the ice.
That is the trap.
The level is asking two questions at once:
Bad players only answer the first question. Better players answer both.
Ice Tray and Ice Box use the same “break the ice” idea, but they punish different mistakes.
Ice Box is easier to read because it sits on the upper board. You can usually tell which frozen marble box is blocking your path, then plan around it.
Ice Tray is nastier because it sits at the bottom. The top board may look open, but the bottom boxes are not ready to receive the marbles. That creates fake freedom. You feel like you have many moves, then suddenly the conveyor fills up because the useful tray is still frozen.
With Ice Box, you are asking, “How do I reach this marble box?”
With Ice Trays, you are asking, “How do I make this bottom box usable before I drop its color?”
That is a different skill.
Ice Trays also feel close to Locked Pallet, since both block bottom colored boxes.
But the solution is different.
So when you see an Ice Tray, stop searching the top board first. Look at the bottom boxes touching it. The answer is usually sitting beside the ice.
Use this order when you are stuck on an Ice Tray level:
Scan all frozen trays first. Do not start dropping just because a color is available. Check which bottom boxes are frozen and which colors they block.
Find the tray with the fewest neighbors. A frozen tray with only one or two useful adjacent boxes is your danger point. Break that one early.
Clear adjacent boxes on purpose. Do not waste clears on random bottom boxes. Every clear should either open space or chip ice.
Hold blocked colors. If the matching tray is frozen, do not dump that color unless you have a booster ready or the ice is about to break.
Work from the outside in. In chain setups, start with the Ice Tray that has the clearest nearby path. Breaking one tray often opens the next.
Use boosters only when the bottom is trapped. A Cannon Booster is strongest when frozen trays have caused too many loose marbles on the conveyor. A Shuffle Booster can save a bad bottom-box order. A Magnet Booster is best when one top box must drop but the path is blocked.
Hard levels love putting multiple Ice Trays close together.
This creates a chain. You need to break one frozen tray to clear a box, then use that box to break another tray, then use that new space to finally clear the color you wanted from the start.
The mistake is trying to attack the final frozen tray first.
Do not do that.
Start with the frozen tray that already has the most normal boxes touching it. That tray is the easiest crack in the level. Once it breaks, the board usually gives you one more clear route. Use that route to hit the next ice piece.
Think of it like pulling a knot apart. Do not yank the tightest part first. Loosen the edge.
There is a weird edge case with Ice Trays.
If a whole row is frozen and there are no nearby normal colored boxes to clear, the player would have no legal way to break the ice. That would soft-lock the level.
The game usually avoids this setup. In rare cases where the board creates a full blocked row with no usable neighbor, the ice can break automatically so the level stays playable.
Do not count on this. It is a safety behavior, not a smart plan.
Play as if every Ice Tray needs two nearby clears.
Most failed Ice Tray levels come from the same bad habits.
The biggest mistake is panic tapping. Ice Tray levels punish speed when the order is wrong. Tap fast after the route is clear, not before.
If one normal bottom box touches two different Ice Trays, make that box your first target. Clearing it can help break both frozen trays, or at least set up both breaks with fewer wasted moves. It looks like a small move, but it can open the whole bottom row.
Also, watch the color sitting behind the ice. If that color appears in several top boxes, do not drop it until the frozen tray is one clear away from breaking. Then dump it fast. Clean and brutal.